|
|
|
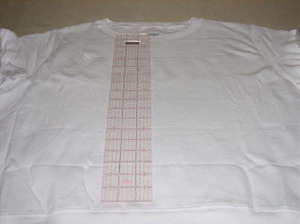
Step 1: Lay out the sweatshirt. Using a marker or a fabric pen, mark the center of the sweatshirt. You can also fold it in half and iron a center crease into it.
|
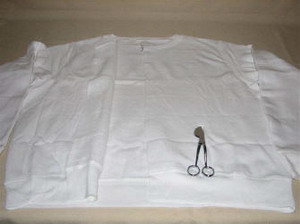
Step 2: Cut up the center of the chest using scissors. This will be the opening of the jacket.
|
|
|
|
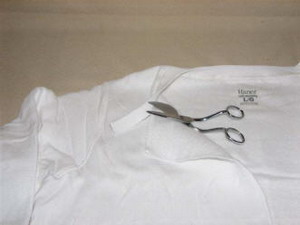
Step 3: If your sweatshirt has a ribbed neck cut it off. I would recommend cutting off the stitches also. I left mine in and it makes it harder to sew when assembling. Also cut off the cuffs and waist band, if these are ribbed. Sweatshirts that are not ribbed don't need to be cut off.
|
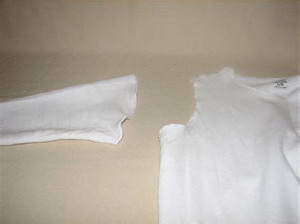
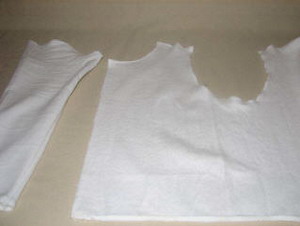
Step 4: Using a seam ripper or scissors, remove the stitching of the sleeves from the sweatshirt.
|
|
|
|
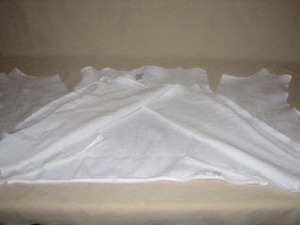
Step 5: Remove the stitches from the shoulders also.
|
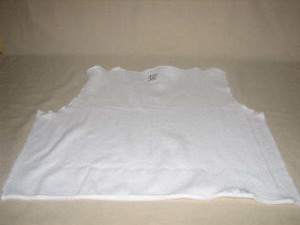
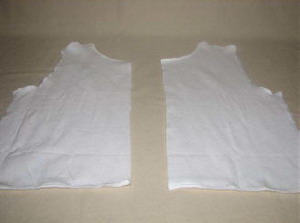
Step 6: Under the arm holes you will need to cut from the armhole opening down to the waist on both sides of the shirt. You should have five pieces after this, two front pieces, one back piece and two arm pieces.
|
|
|
|
Step 7: Back piece.
|
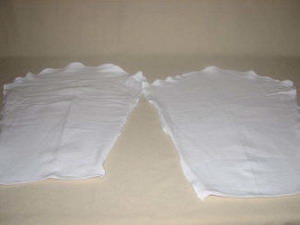
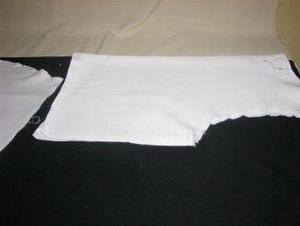
Step 8: Front pieces.
|
|
|
|
Step 9: Arm pieces. Open the under arm seams also.
|
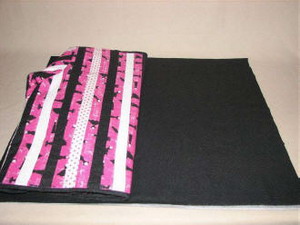
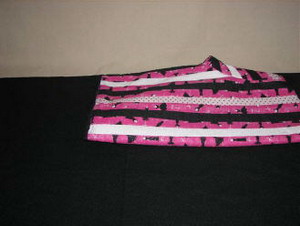
Step 10: Cutting the lining; Lay all four pieces out on the 2 yards of lining fabric. Starting with the back piece, fold the piece in half and lay it on the fold.
|
|
|
|
Note 1:
|
Note 2:
|
|
NOTE: If you are making a longer jacket, you will need to measure the back, front and side pieces across the bottom (add 1 inch to each piece for seams). Cut the fleece as long as you need from the ¼ yard, 4-6 inches is appropriate. Sew this to the bottom of the back and front panels at the bottom. After these are sewn-open, press the seams open. Zigzag stitch on top where the two fabrics meet-to give extra stability. Now your jacket is longer and ready to get started.
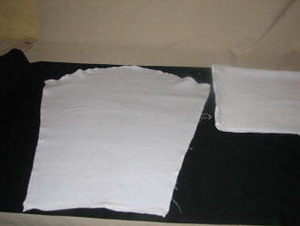
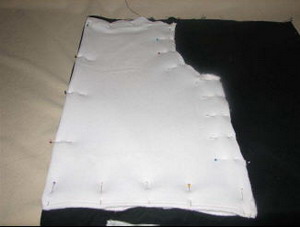
Note 1: shows a folded piece of fabric. A short jacket will fit on just half the fabric.
Note 2: shows the fabric open. When you have the fleece added to the sweatshirt, it will be longer and you will need to lay the pieces out for your pattern and the strips will be cut using that measurement.
|
|
|
|
Step 11: Lay the other pieces to fit the fabric (sweatshirt fuzzy side down). Keep the folded.
|
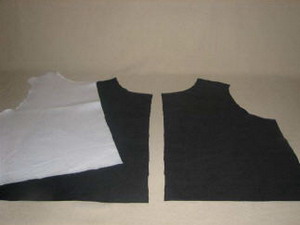
Step 12: Pin the pieces to the fabric. Lay one arm panel and one front panel on the folded fabric (this will make two pieces of each).
|
|
|
|
Step 13: Cut out all four pieces of the lining.
|
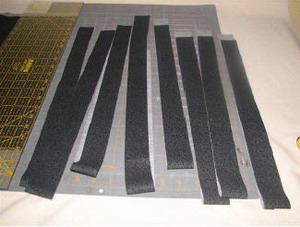
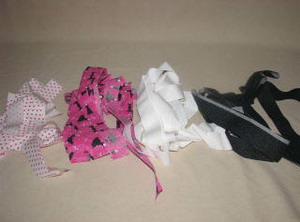
Step 14: Jacket strips; Using a cutting mat/rotary cutter and ruler, cut 1½ inch strips from your choice of coordinating cotton fabrics. I used four different colors, but you can use as many as you like. I would recommend no more than eight different coordinating fabrics. Just leave your fabric folded in half. It makes it easier to cut. Do not use the selvage edges, cut them off.
|
|
|
|
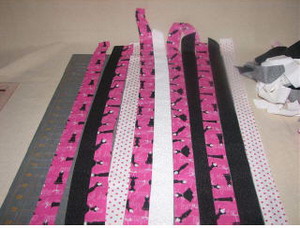
Step 15: The size of your sweatshirt will determine how many strips you'll need. I have a large sweat shirt. It will be a medium size when finished. I cut 24 strips for the front panels.
|
Step 16: Lay out the strips of fabric to see what they look like. Choose the pattern you'd like to use and stick with it throughout the whole project.
|
|
|
|
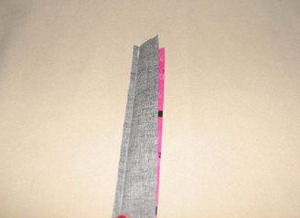
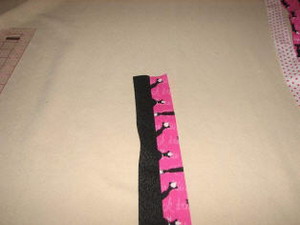
Step 17: Starting with the first two strips, with right sides facing, sew the two pieces together with a ¼ foot or a ¼ inch seam.
|
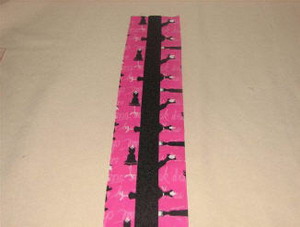
Step 18: Open the two pieces of fabric. Press the hem with an iron towards the darker fabric. In this case the pink is pressed towards the black.
|
|
|
|
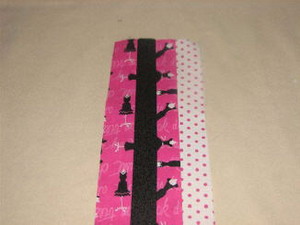
Step 19: Choose the next strip and sew it to the last strip, right sides facing. Because I chose pink as my main color, I needed one yard of this fabric). Make sure to press the hem with an iron towards the darker fabric each time you sew on a new strip of fabric.
|
Step 20: Choose the next strip and sew it to the last strip, right sides facing.
|
|
|
|
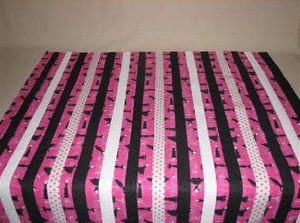
Step 21: Continue to add strips of fabric in this manner until you have enough pieces sewn together for all 4 pattern pieces. I sewed enough strips to make my front panels and then sewed more together for the back panels, then more for the arm panels. It's your choice how many you make and when. I think you use less fabric if you do it in sections.
|
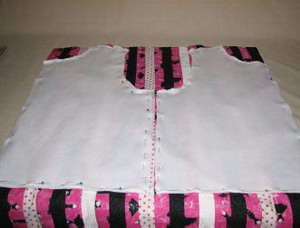
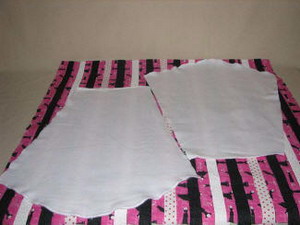
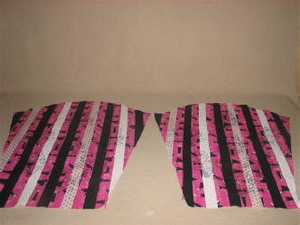
Step 22: When you have enough strips, lay out your sweatshirt front panel pattern pieces. Pin the strips to the sweatshirt fabric and cut out the pieces.
|
|
|
|
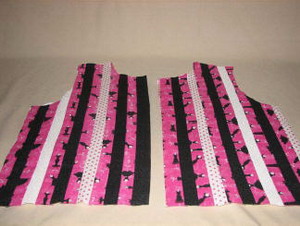
Step 23: Finished cutting out the front panel pieces.
|
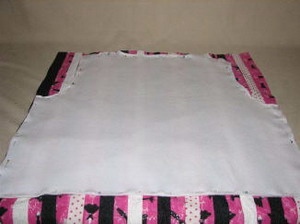
Step 24: When you have enough strips, lay out your sweatshirt arm panel pattern pieces. Pin the strips to the sweatshirt fabric and cut out the pieces.
|
|
|
|
Step 25: When you have enough strips, lay out your sweatshirt back panel pattern piece. Pin the strips to the back sweatshirt panel pattern and cut it out.
|
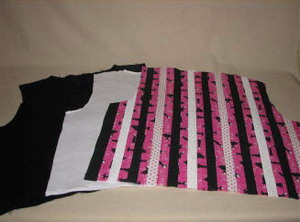
Step 26: Now you should have three pieces for each panel. A top of strips, the sweatshirt for batting and a coordinating lining.
|
|
|
|
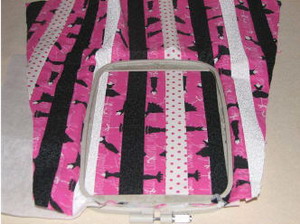
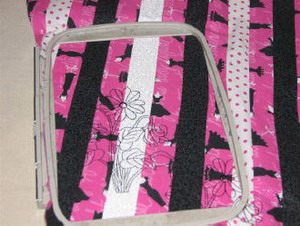
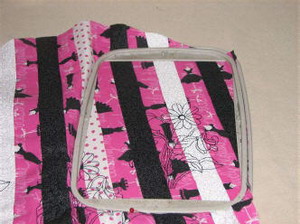
Step 27: Find the center bottom of the sleeve. Mark it with a fabric pen. Hoop the strip top fabric with tear away stabilizer. Embroider the design. You'll probably want it to stand out, but it's not necessary. Metallic threads are great for this project. Remove excess stabilizer from the back when finished.
|
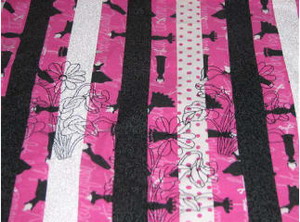
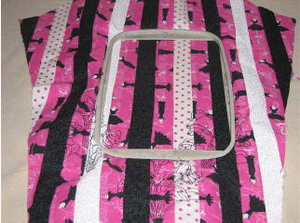
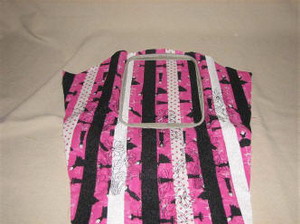
Step 28: For next design, move up a little bit and line the hoop up with the outside left edge of the arm panel. Hoop again with tearaway stabilizer and embroider the design. Remove excess stabilizer from the back when finished.
|
|
|
|
Step 29: On the opposite side of the first design, move up a little bit and lined the hoop up with the outside right edge of the arm panel. Hoop again with tearaway stabilizer and embroider the design. Remove excess stabilizer from the back when finished.
|
Step 30: Find the center of the sleeve-just over the first design. Hoop the fabric with tearaway stabilizer. Embroider the design. Remove excess stabilizer from the back when finished.
|
|
|
|
Step 31: On the right side of the last design, line the hoop up with the outside right edge of the arm panel above the other design. Hoop again with tearaway stabilizer and embroider the design. Remove excess stabilizer from the back when finished. You'll also need to put a design on the opposite side.
|
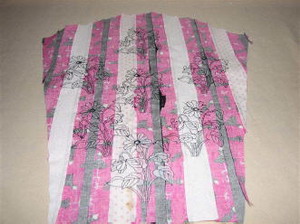
Step 32: Find the top center of the sleeve-just over the second middle design. Hoop the fabric with tearaway stabilizer. Embroider the design. Remove excess stabilizer from the back when finished. This jacket has seven designs on each sleeve. You can do as many or as few as you like.
|
|
|
|
Step 33: Back of embroidered sleeve.
|
Step 34: Continue with the second sleeve following the previous steps. You can also embroider on all the other panels, if you wish. Get creative. Pockets can also be added, but I chose not to on this jacket.
|
|
|
|
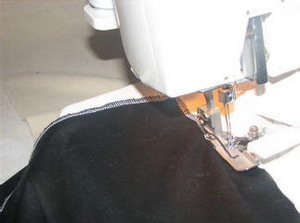
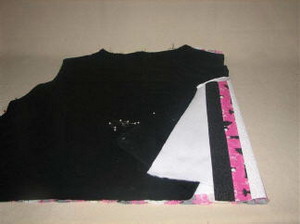
Step 35: All edges of all panels should be serged or use an overlock stitch or zigzag stitch, on all pieces. If using a serger. Pin all three layers of one panel together and serge them all together. Pictured are the front panels. You should use matching thread to your project. I used white thread for pictures to make it easier to see.
|
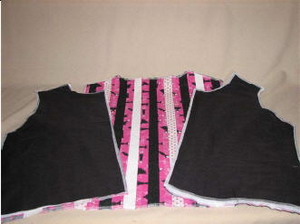
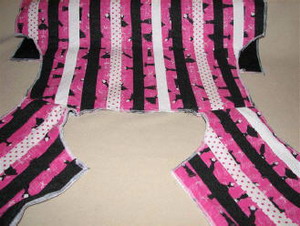
Step 36: Serge, overlock or zigzag the edges to the back panels. The same as the front panels.
|
|
|
|
Step 37: Front and back panels serged.
|
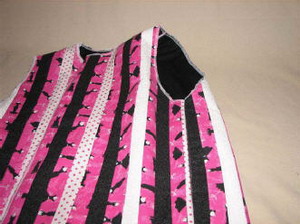
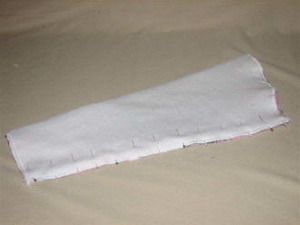
Step 38: Pin the shoulder fronts to the shoulder backs with right sides facing and sew them together with ½ inch seam allowance. This will cover any serger threads.
|
|
|
|
Step 39: Pin the back and front panels at the sides together. Sew with a ½ inch seam allowance. You can also use your serger for this step and it will finish it off.
|
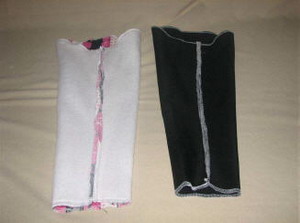
Step 40: Serge the strip fabric to the sweatshirt sleeve along the edges. Fold the sleeve in half lengthwise with right sides facing and pin in place. Sew a ½ inch seam allowance or just to the other side of the serged threads.
|
|
|
|
Step 41: Separately do it to the lining also.
|
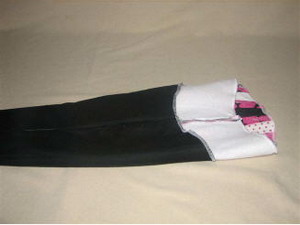
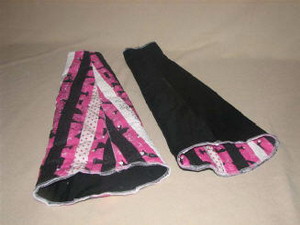
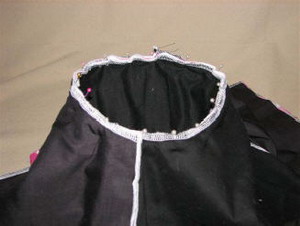
Step 42: Turn the lining fabric inside out. Put the strip/sweatshirt piece inside the lining piece as shown. Matching seams from under the arm, pin the upper arms together and baste stitch in place.
|
|
|
|
Step 43: You can serge the tops of the arms together. Finished fully lined sleeves.
|
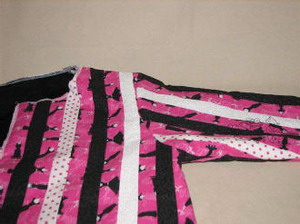
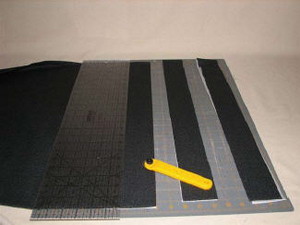
Step 44: With the sleeves right side out, match the underarm seams with the side seams in the jacket body. Pin in place and paste stitch all the way around the arm hole.
|
|
|
|
Step 45: First finished sleeve. Repeat for the other sleeve.
|
Step 46: Making the binding; Using the cutting mat and rotary cutter, cut 2½ inch strips of coordinating fabric (makes 5 yards of binding). I cut 4 strips and sewed them together.
|
|
|
|
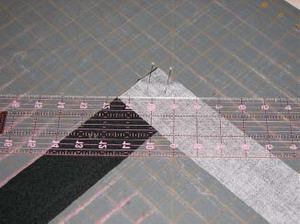
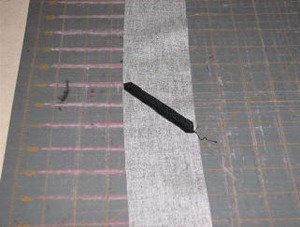
Step 47: Take two of the binding strips and lay them right sides together, as pictured. Mark the fabric with a 45 degree angle, from outside corner to outside corner. Pin in place and sew with a ¼ inch seam. Cut off the excess fabric ¼ inch from the stitches.
|
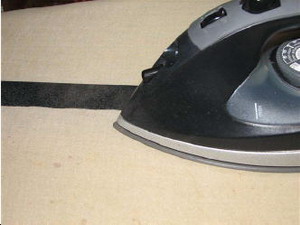
Step 48: Press open the seam. Continue to sew pieces together up to 5 yards long, following the instructions in step 47 to make the binding as long as you need it.
|
|
|
|
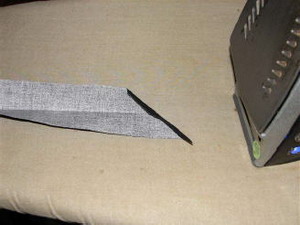
Step 49: Fold and press the 2½ inch x 5 yard long piece of fabric lengthwise.
|
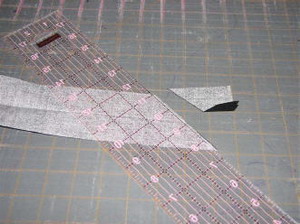
Step 50: On one end, cut the end off at a 45 degree angle.
|
|
|
|
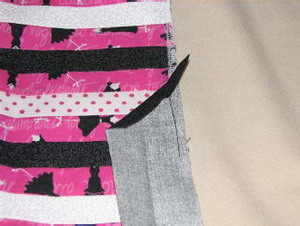
Step 51: Press the end of the fabric ½ inch and cut off the little triangle hanging over the edge of the fabric.
|
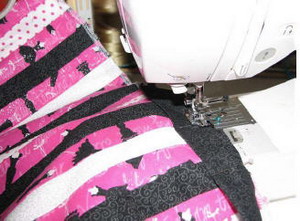
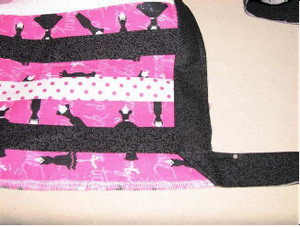
Step 52: Pin the binding to the back center edge of the right side of the bottom of the jacket. Sew about 3 inches, back-stitching at the beginning and the end.
|
|
|
|
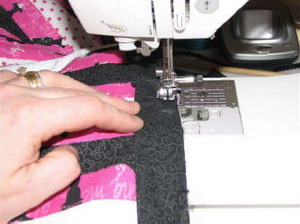
Step 53: Fold the binding back over so it is even with the edge of the jacket bottom. Starting about 2 -3 inches in on the binding, sew ¼ inch all the way around the jacket, stopping ¼ inch from the corners .
|
Step 54: Back-stitch and cut the thread. Remove the jacket from the machine. Make a mitered corner. Fold the binding up making a 45 degree angle and back down. Making the binding folded edge even with the outside edge of the jacket, continue to sew, back-stitching at the beginning of the corner and at the end when you come to a corner. Remember to stop ¼ inch from the end. Continue all the way around the jacket until you get about 3 inches from where you started.
|
|
|
|
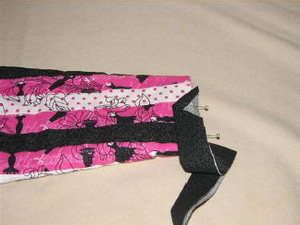
Step 55: There will be extra fabric on the binding. Cut off anything you don't need. I kept about 1 inch piece extra. Open the fold and tuck the rest of the binding in the pocket. Finish stitching the binding.
|
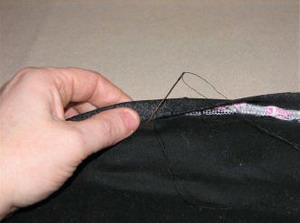
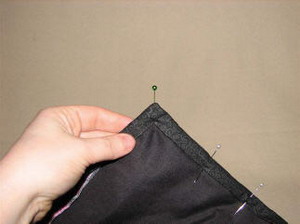
Step 56: Fold the binding over to the back. Pin in place. The binding should cover the ¼ inch seam. Only pin up to 20 inches at a time, you don't want to get stuck with a pin! With a needle and thread, (thread should not be longer than 20 inches, longer thread causes knotting), whip stitch the binding to the back side of the jacket. When you run out of thread, knot a new piece and start where you left off. This helps secure the last tie off.
|
|
|
Step 57: Fold in corners when you come to them and make sure to catch them with the thread.
|
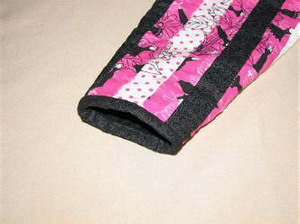
Step 58: Do the same with the arm cuffs as you did on the jacket back. Pin the binding to the cuff close to the seam and on the serged edges of the arm pieces. Sew about 3 inches, back-stitching at the beginning and the end. There will be extra fabric on the binding. Cut off anything you don't need. I kept about a 1 inch piece extra. Open the fold and tuck the rest of the binding in the pocket. Finish stitching the binding. Fold the binding over to the back or inside of the jacket cuff. The binding should cover the ¼ inch seam from adding the binding. Whip stitch the binding to finish the cuffs.
|
|
|
|
Step 59: Finished cuff.
|
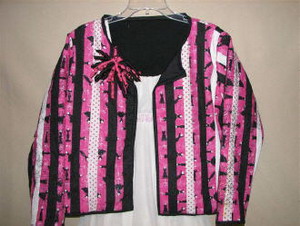
Step 60: Put on your beautiful new jacket and go visit your favorite fabric shop!
|


