|
 
Supplies List
-
Machine embroidery design
-
Scalloped Valance (or other item to embroider on)
-
Embroidery machine – 5x7 hoop
-
Water soluble stabilizer (WSS)
-
Adhesive spray
-
Machine embroidery thread
-
Appliqué scissors or other small scissors
-
Damp sponge
-
Stick pins (optional)
|

|

|
|
Step 1: Hoop the WSS.
|
Step 2: Center the fabric to be embroidered over WSS in the hoop.
|

|

|
|
Step 3: Spray temporary adhesive on back side of fabric to be embroidered. Smooth fabric down to WSS. I used pins for extra stability.
|
Step 4: Sew out the first color. This is the die line for the cutwork.
|

|

|
Step 5: Remove hoop from machine without removing the fabric. Cut out the fabric as close to the stitches without cutting the stitches. To help cut out the fabric start in the center with your finger behind the design. Careful not the
cut the WSS.
|
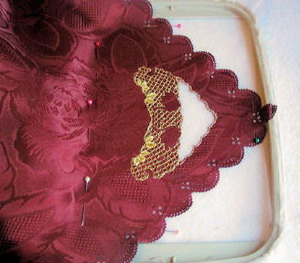
Step 6: Here is how it should look when you are finished cutting out die line.
|

|

|
|
Step 7: Place the hoop back in the machine and sew next color of your choice. (I used gold metallic thread to give this a classy look).
|
Step 8: Sew out the rest of the embroidery in your choice of colors.
|

|

|
|
Step 9: When design is finished, remove the item from the hoop. Cut the WSS as close to the design without cutting the fabric or the embroidery design.
|
Step 10: Using a damp sponge, wipe away all the WSS. You could also rinse it out under running water and let dry.
|
FINISHED! Enjoy your beautiful cutwork valance!

|


