|
|
|
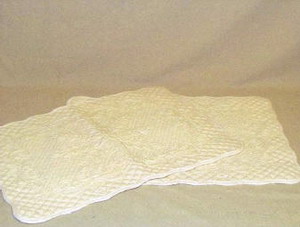
Step 1: You need two placemats- 14 inches x 19 inches. These can be quilted or not. I do not recommend using a smaller placemat.
|
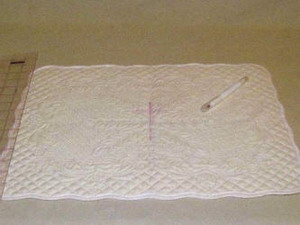
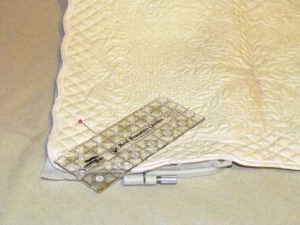
Step 2: With a washable fabric pen, mark the center of one placemat.
|
|
|
|
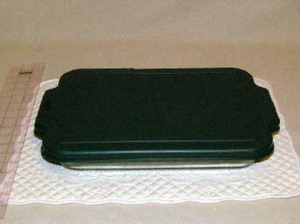
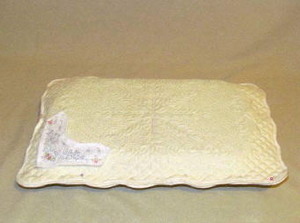
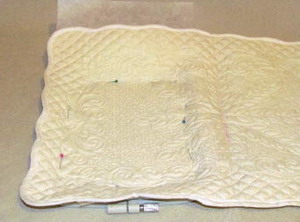
Step 3: Place your 9 x 13 dish on the placemat and do a size test. Place the other placemat on top and pin all the way around There should be a good ½ inch all the way around the dish. You’ll need this for sewing.
|
Step 4: I embroidered out a sample design to help with the placement of my corners. This is not necessary, but helpful.
|
|
|
|
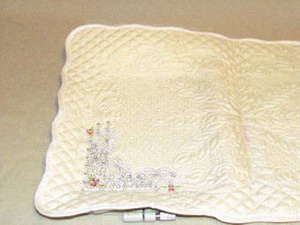
Step 5: Hoop tear away stabilizer. Mark the corner in 2 inches. This will be the outer bottom corner of the design. Using a graph can also be helpful. I lined up the 2 inch corner with the bottom square corner of the graph.
|
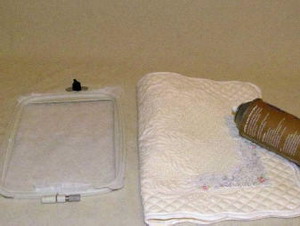
Step 6: I used spray stabilizer on the back of the placemat and smoothed into place. Then I pinned the outer edges-for extra stability.
|
|
|
|
Step 7: Embroider the design. Be creative and use your own color choices. You can also mark the center of this design , it might help when realigning for the next design.
|
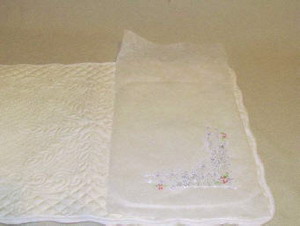
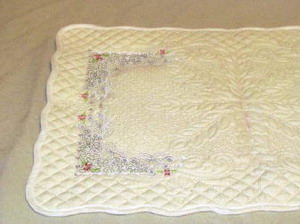
Step 8: Back of the design. Remove the stabilizer.
|
|
|
|
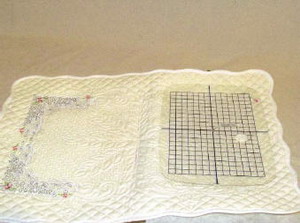
Step 9: Hoop another piece of stabilizer and place the placemat over the hoop. Make sure that the upper 2 inch corner is lined up with the graph corner. Once you are ready for placement, spray the back again with temporary spray adhesive and smooth in place-don’t forget to pin the edges. I used my rotating tool on my machine and flipped the design so I’d have it facing the way that I want. That can also be done with your embroidery software or manually rotating the hoop and placemat to get your desired results. Embroider the design. Remove from the hoop and remove the excess stabilizer.
|
Step 10: Finished left side. The hearts in the center are touching.
|
|
|
|
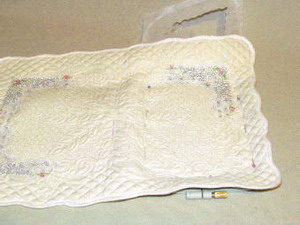
Step 11: Continue to the right side. Hoop stabilizer, spray the back of the placemat and smooth in place. Use the top 2 inch corner and the graph as your guide. Pin along the edges. Rotate the design, embroider it, take out of hoop and remove the excess stabilizer.
|
Step 12: Finish the last corner in the same manner as before. Use the 2 inch mark and the graph to get everything lined up. Hoop the stabilizer, spray and smooth in place. Pin the edges. Rotate and embroider the design. Take out of the hoop and remove the excess stabilizer.
|

|
|
|
Step 13: Finished corners. Close up of the corners and how the hearts are touching.
|
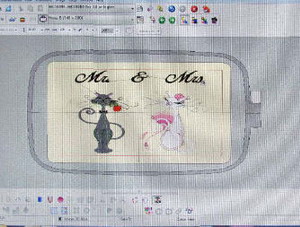
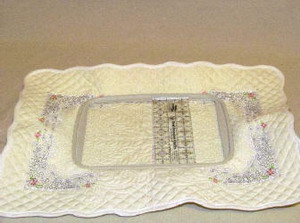
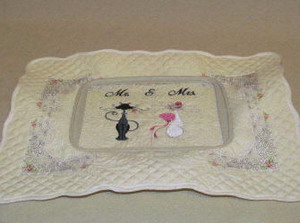
Step 14: I added these cute cat designs to personalize my casserole carrier and also added the Mr. & Mrs. To the top. Later I’ll add the last name. My hoop isn’t big enough for all of it.
|
|
|
|
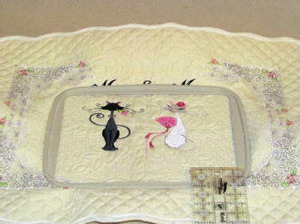
Step 15: You should have already marked the center of the placemat, I want to hoop off center though, because I’m adding the Last name later. So place the hoop where the hoop is touching the middle of the top embroidered designs. There should be about one inch of the design in the hoop.
|
Step 16: Hoop the placemat along with tear away stabilizer and embroider your center design.
|
|
|
|
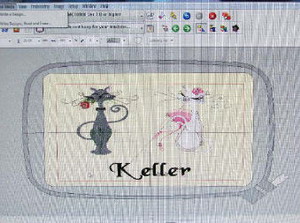
Step 17: Back in software I took my first two original design and put them at the top of the hoop and added the name to the bottom. You don’t have to do this, but I did it for my own references.
|
Step 18: Rehoop the placemat making sure that your bottom of the hoop is now in the center of the bottom of the design already embroidered. Again about one inch of the design should be showing. Forward the stitches to the correct stitch to embroider out the words.
|

|
|
|
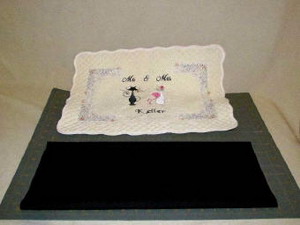
Step 19: Finished top and close up of the finished designs all together.
|
Step 20: Now we are going to make the lining. I chose black. It could get soiled on the inside of the carrier-so I used a dark coordinating fabric.
|
|
|
|
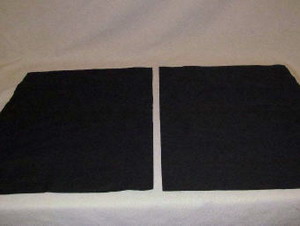
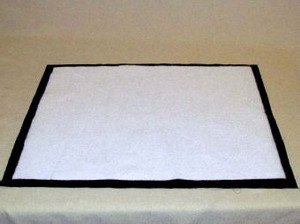
Step 21: Cut 2 pieces of the lining fabric 15 inches x 19 ½ inches.
|
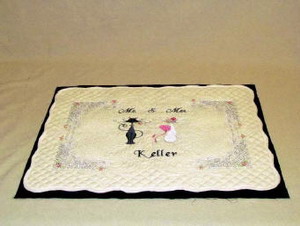
Step 22: The lining fabric should be bigger than the placemat.
|
|
|
|
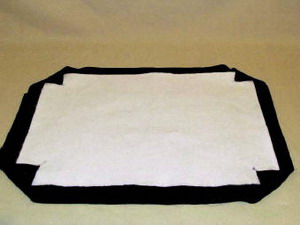
Step 23: Cut two pieces of insulbrite- 12 ½ inches x 17 inches. The insulbrite should be smaller than the lining fabric. Set one piece aside for the second piece of lining. Optional-cut two pieces of fusible pellon just a bit smaller than the insulbrite and fuse to the shiny side of the insulbrite, following the manufactures instructions.
|
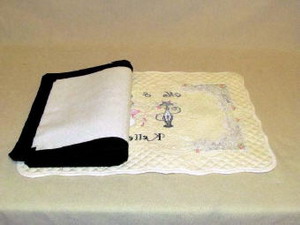
Step 24: With the shiny side of the insulbrite touching the lining fabric, fold and pin the corners and press with an iron. Also fold and pin up all the straight edges and press with an iron. Press the whole surface of the black fabric. This will fuse the pellon to the lining fabric.
|
|
|
|
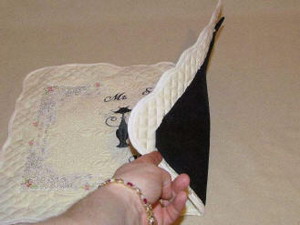
Step 25: Place the placemat front facing down and place the insulbrite on top of it with the lining fabric facing up.
|
Step 26: Align the insulbrite/lining more to the left of the place mat-about ½ inch from the edge. The other side is reserved for the opening.
|
|
|
|
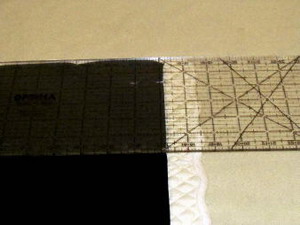
Step 27: Pin and sew in place, using an ½ seam or a narrow seam close to the edge of the black fabric. Use a matching color to the placemat so it doesn’t show up.
|
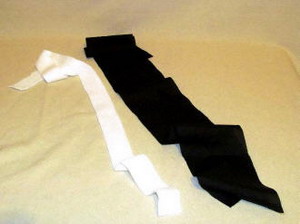
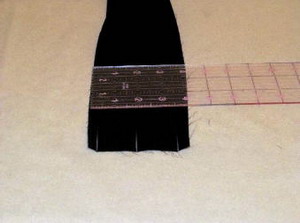
Step 28: Cut two pieces of lining fabric 4 ½ inches x 37 inches. These will be the straps. Also cut two pieces of batting (this can be warm n natural, fleece, felt, any low pile batting) 1 ½ inches x 37 inches. If not making your own straps, you can purchase two yards of cotton or plastic web strapping in different colors at fabric stores.
|
|
|
|
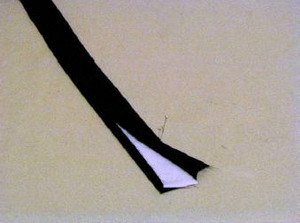
Step 29: Fold the fabric strips in half long ways and press. Also press both outer edges in ½ inch.
|
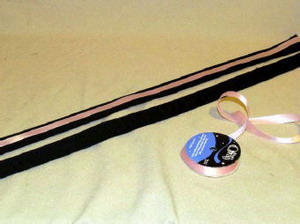
Step 30: Place the batting in the middle of the fabric. Make sure to line up the folded outer edges. Pin along the edge and sew a narrow seam along both outer edges. This will make a sturdy strap.
|
|
|
|
Step 31: Optional-cut two pieces of 5/8 inch ribbon -37 inches long. Sew along both outside edges of the ribbon to attach to the strap.
|
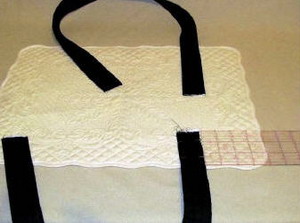
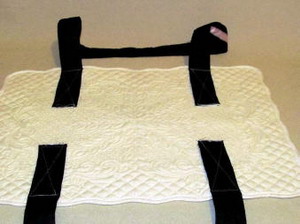
Step 32: Pin the strap with the ribbon facing down. These are long straps. I left enough so I could decide how long I wanted them. It’s time to do another length check. Pin the straps in place on the bottom or blank placemat. I started with 3x4 inches in from all 4 corners. Place the casserole dish on the placemat with straps and lift. Do they seem to long? If so, move the straps in more on the place mat. I moved mine in to 4x5 inches on all 4 corners.
|
|
|
|
Step 33: Sew a crisscross X on all 4 straps to secure to the placemat.
|
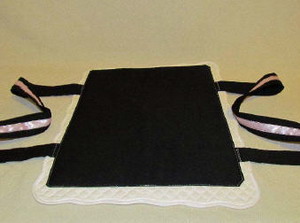
Step 34: Fuse the other piece of insulbrite to the pellon and lining as you did before. Fold and press the corner and edges of the ling over the insulbrite. Pin on top of the placemat with the straps. Make sure to place the lining as before, ½ inch from the left edge. Sew in place with a narrow seam along all the edges.
|
|
|
|
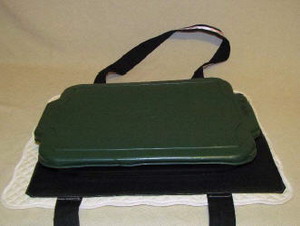
Step 35: Place casserole dish on the finished bottom placemat and cover with the top finished placemat. Pin all the edges. The purpose is to check where and if you want to add button holes.
|
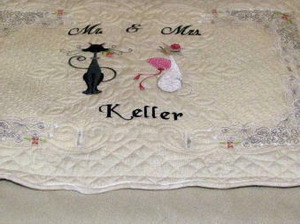
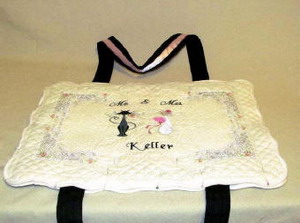
Step 36: Optional utensil holder-Mark on the top 2 spots to make button holes. 1 inch button holes will be fine. Also at the right side of the place mat where the opening will be you can place another button hole. You can also choose to use velcro, snaps, ribbon, etc..
|
|
|
|
Step 37: Insert button into button holer foot and add 2 button holes where you marked under the center design. Also one on the opening side on the top placemat only. Use a seam ripper or scissors to cut open the button holes.
|
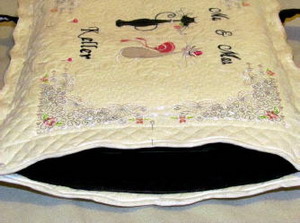
Step 38: Pin the top and the bottom place mats together, matching the lining up. Sew on 3 sides leaving an opening on one end. Make sure to back stitch at the beginning and the end.
|
|
|
|
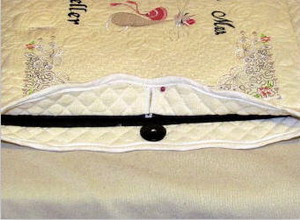
Step 39: Sew a one inch button to the bottom placemat, lining it up with the button hole.
|
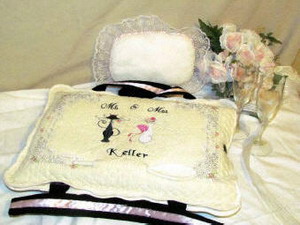
Finished!
|


